Shopping List Quick Start - Web
This Quick Start uses a familiar concept - a shared Shopping List - to demonstrate how to create and use a Vendia Share Universal Application (Uni).
This Quick Start uses the Vendia Share Web Application to create the Uni that will be used in this Quick Start. Alternative, the Shopping List Quick Start - CLI can be followed if you prefer a command-line over a visual interface.
Login to Vendia Share
The first step to using the web application for deploying our Shopping List Uni is to log in to the Vendia Share web application. If you don't yet have a user account for Vendia Share you will first need to sign up. If you have an account but have forgotten your username and password you can reset your password.
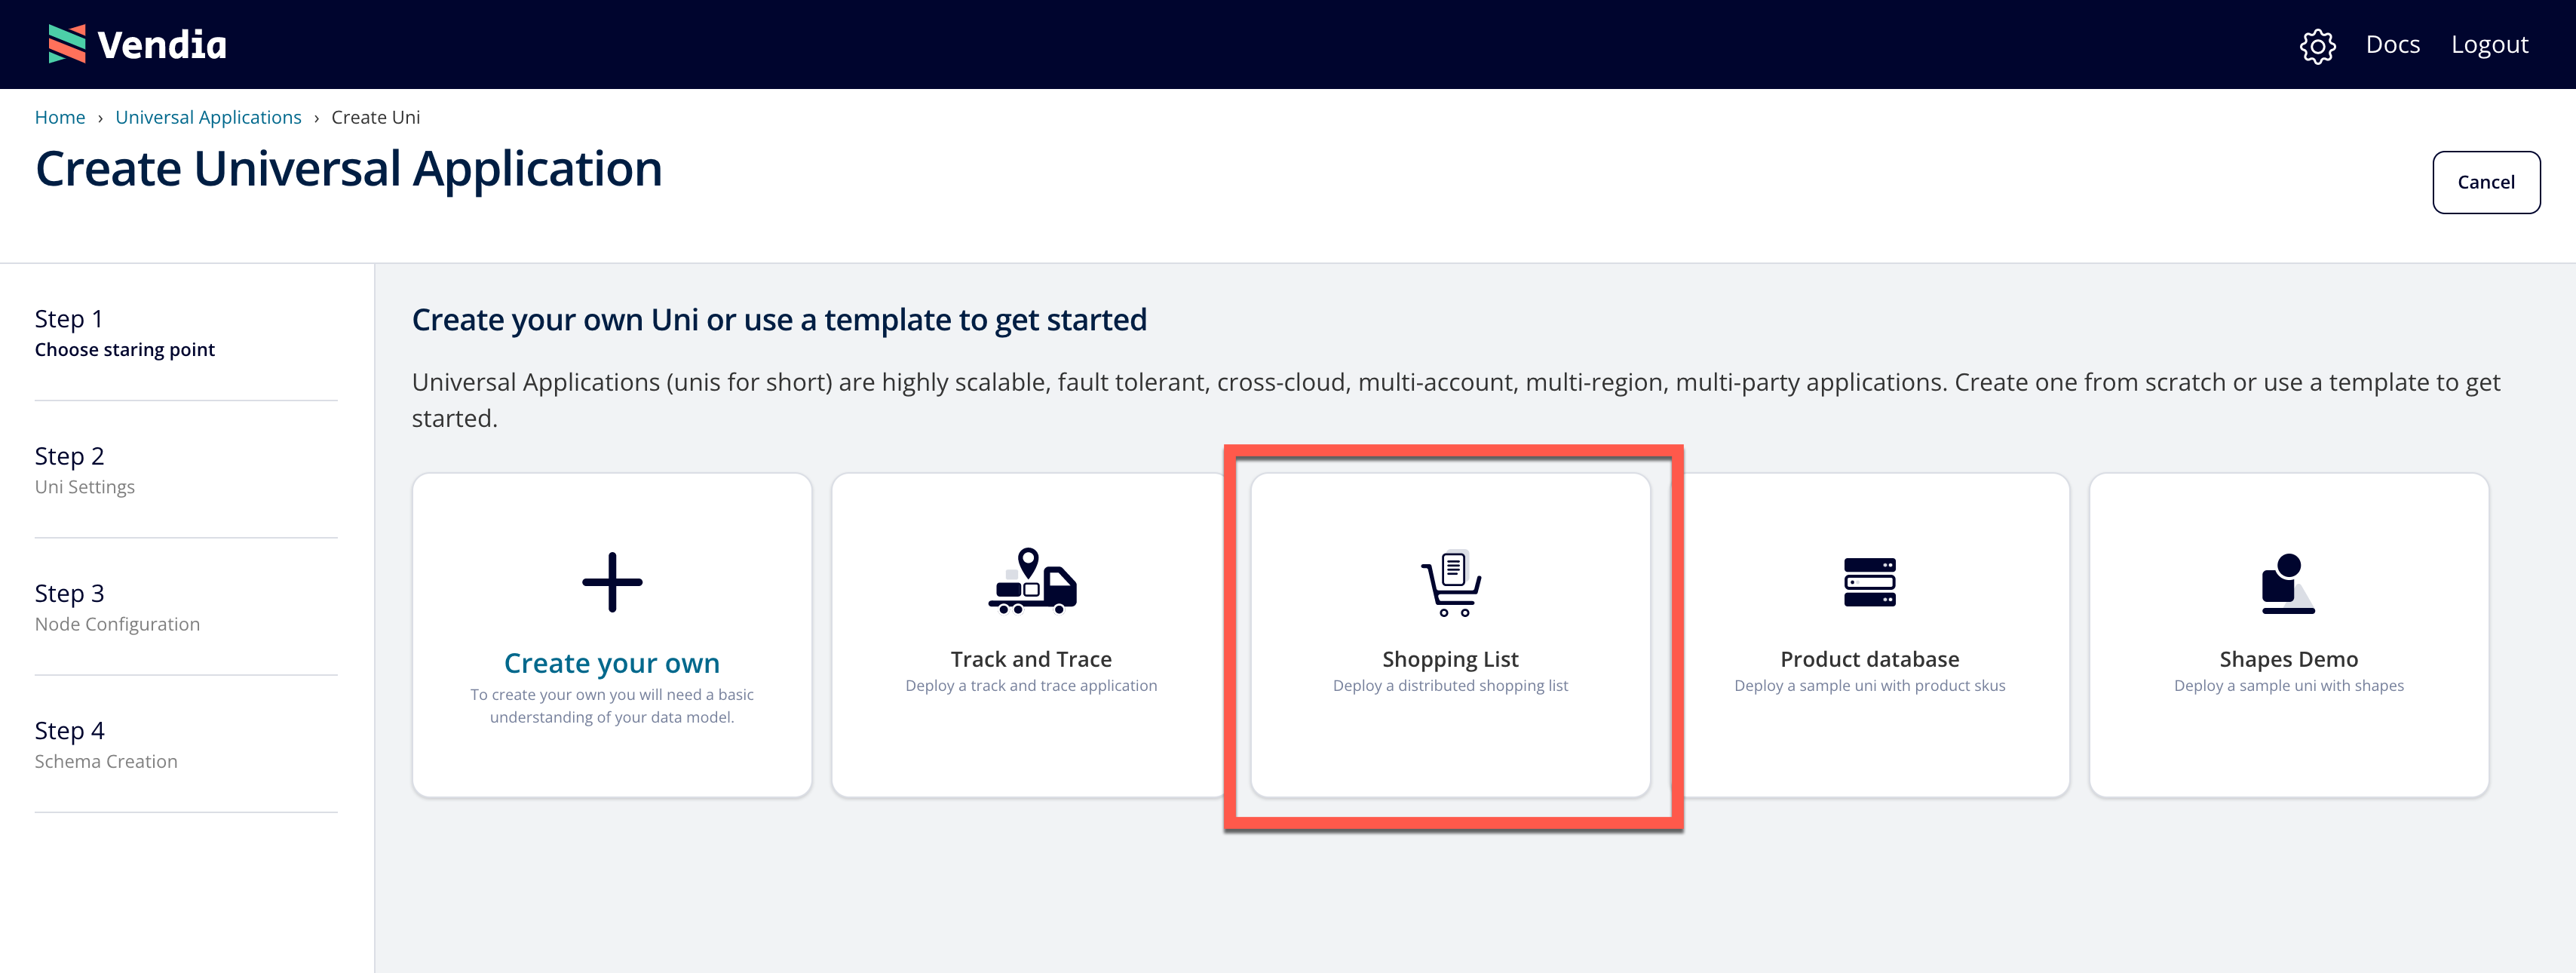
Once you're logged in, you can click on the button to Create a Uni.

Define Your Uni
When we decide to create a Uni, we will have the option to start with pre-defined schemas or use our own. For this quickstart, we can select the Shopping List template.

Once we select the Shopping List template we will be prompted to specify our Uni's name. Select 'Next' button to specify our node settings.

NOTE: Pick a unique name for your Uni that begins with test- - by default all Unis share a common namespace so here is your chance to get creative.
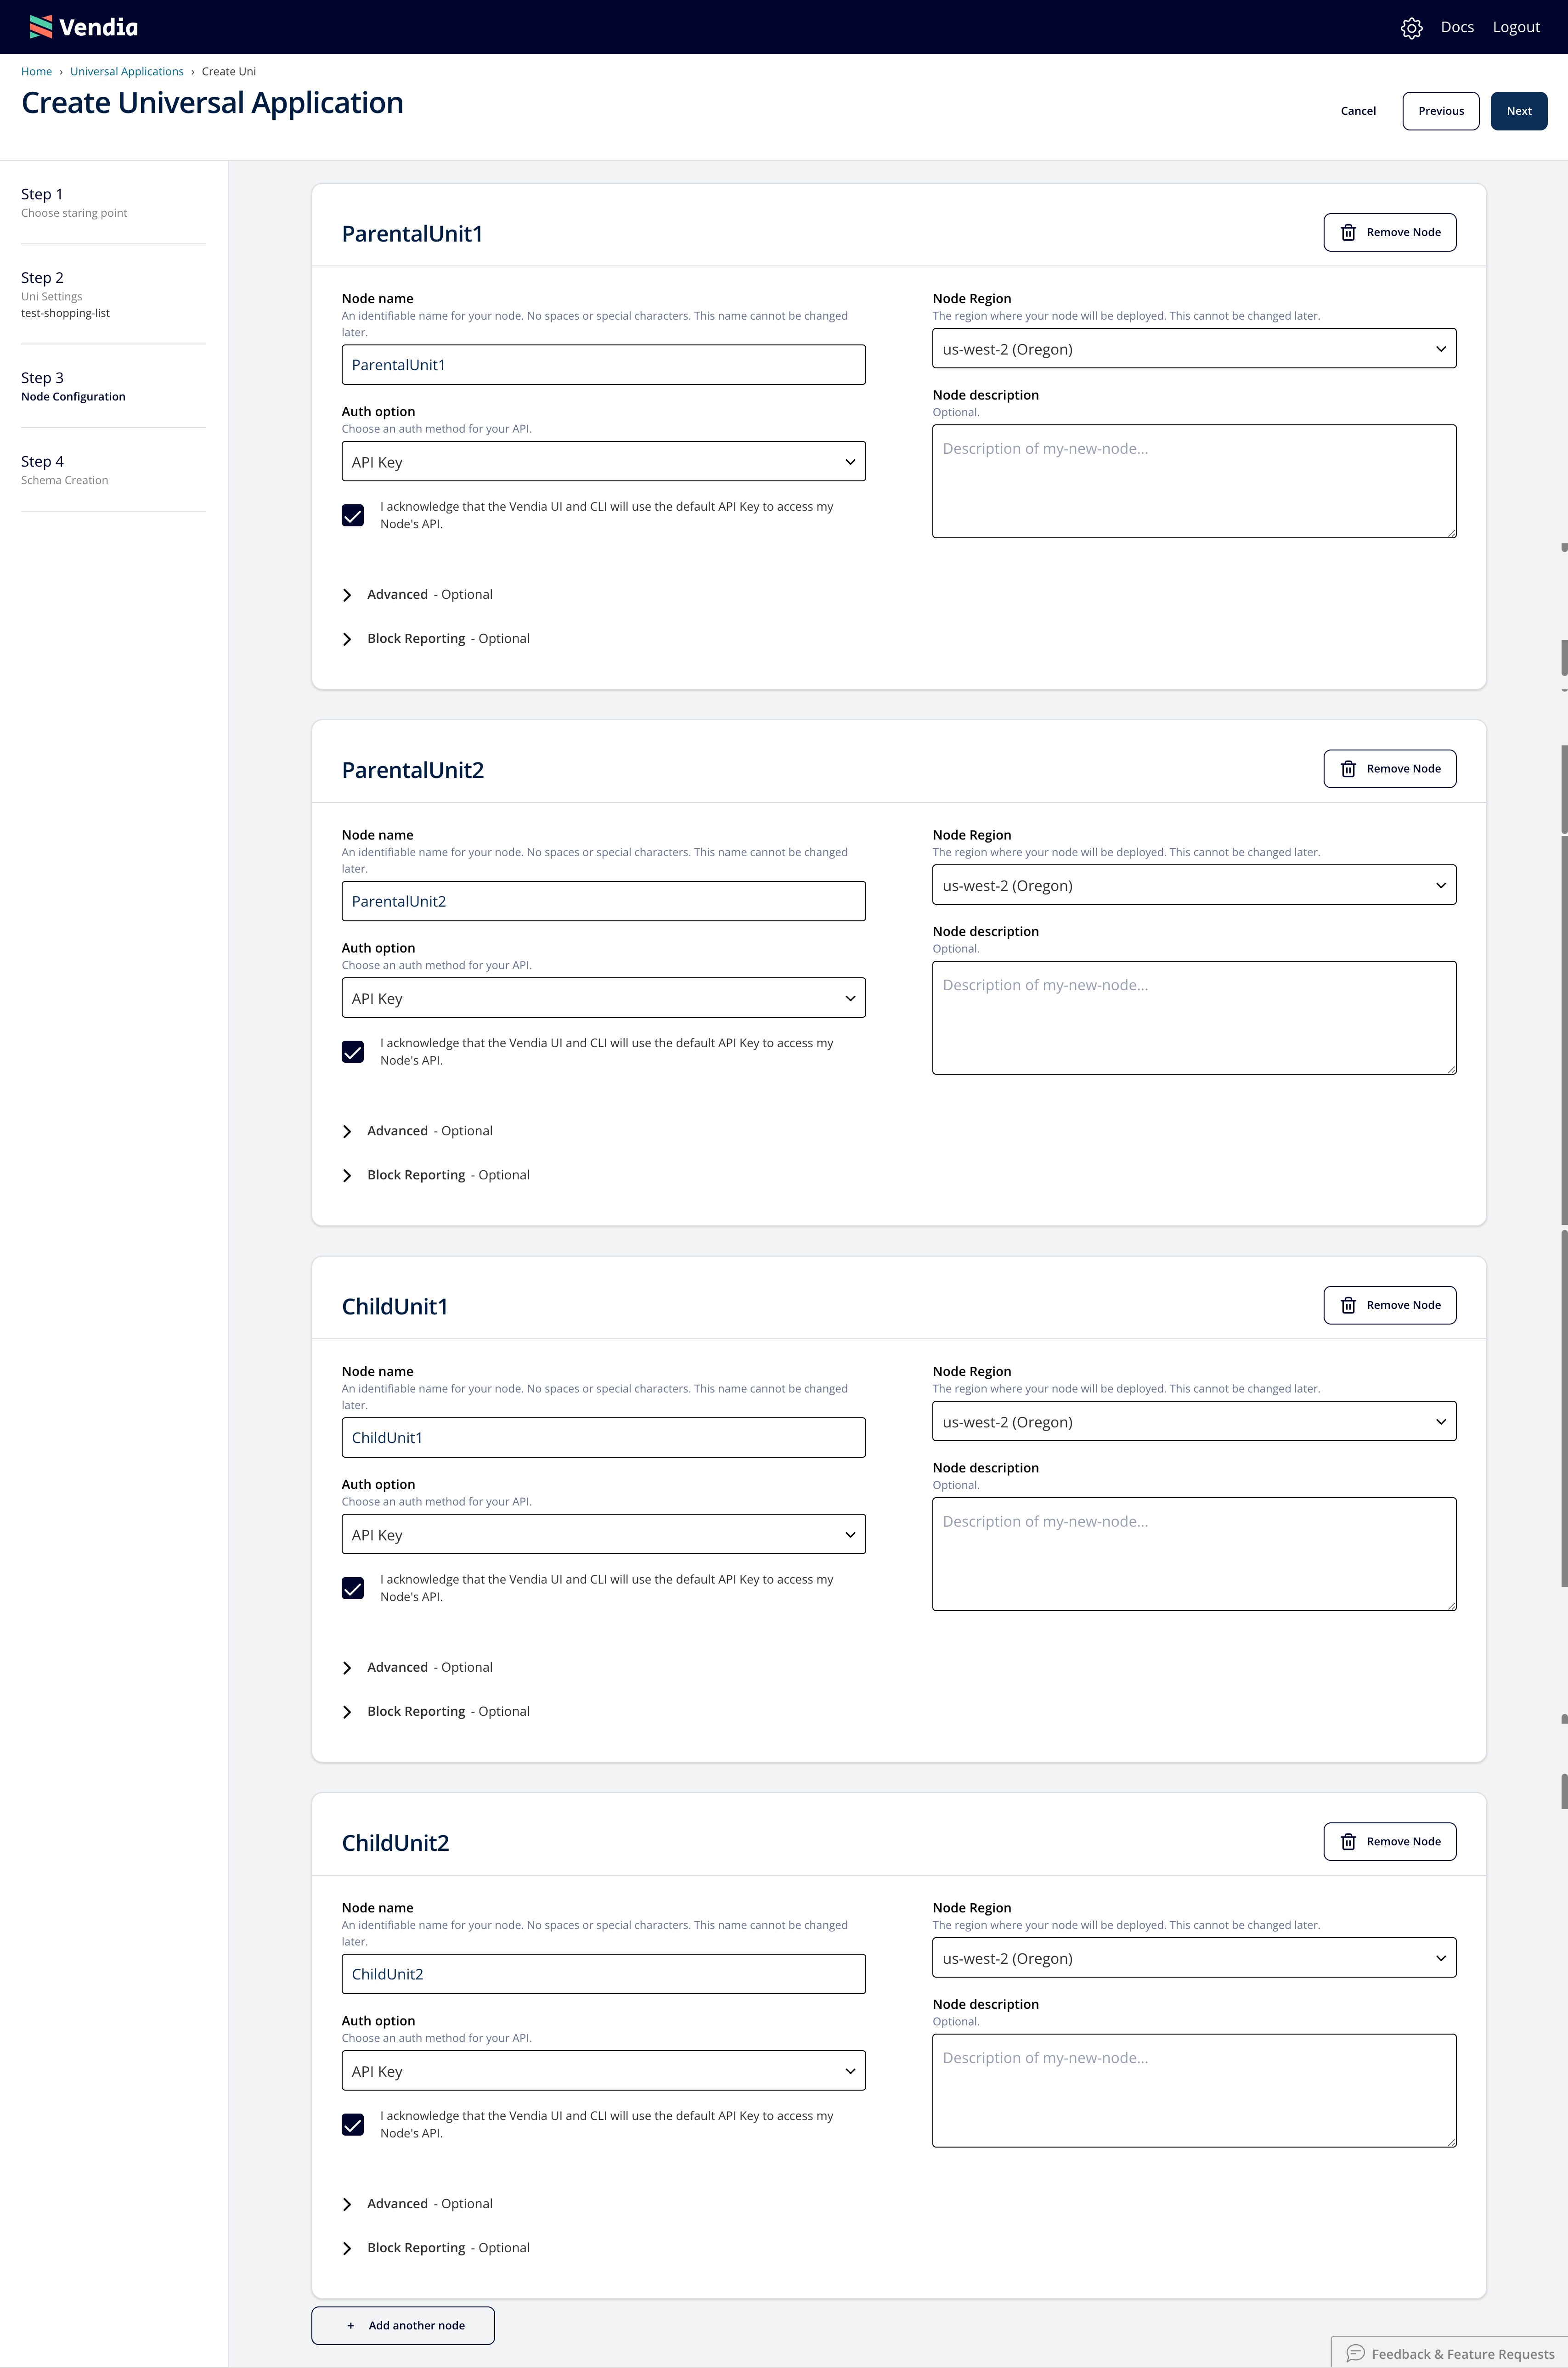
We can define our node attributes. In this example, we are deploying 4 nodes. Each node will use API Key authentication. In our demo, each node is defined in AWS' us-west-2 region but in practice, each node could be deployed in one of Vendia's supported regions. Please refer to our Frequently asked questions page for more information.
NOTE: Starter tier users may need to configure fewer nodes than shown given the node limits enforced. See full details on the Pricing page.

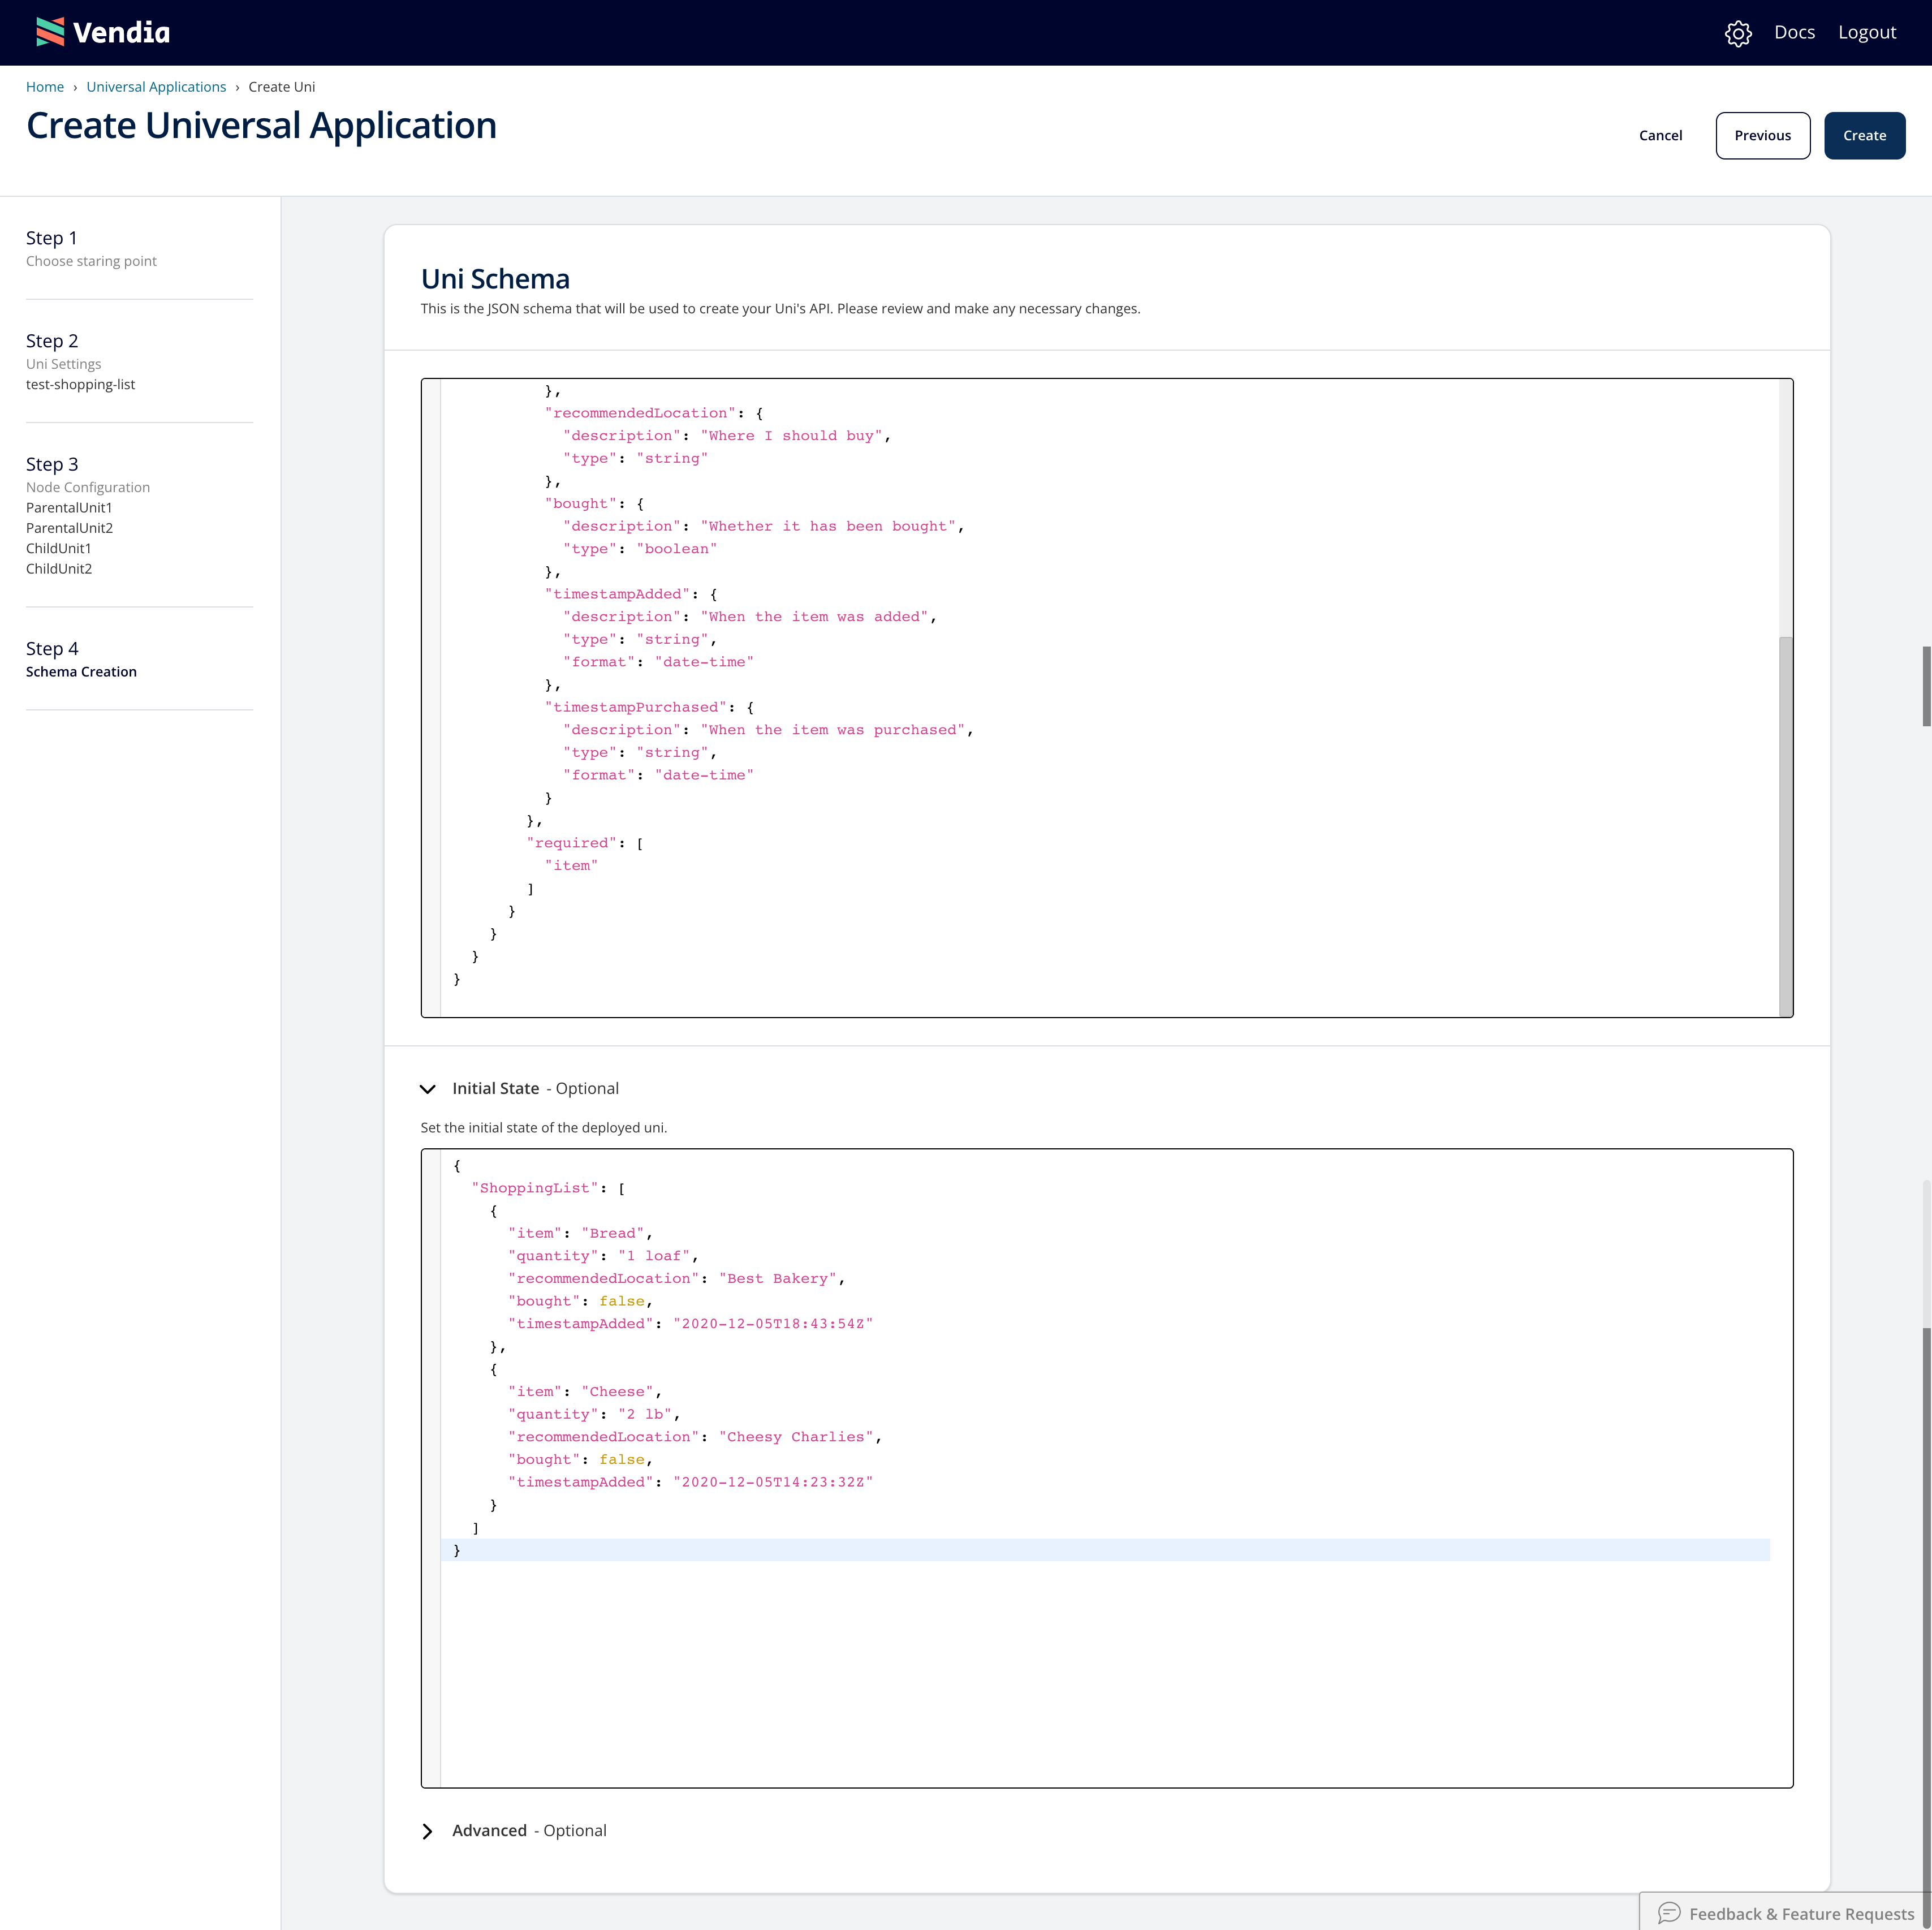
Once we've configured our node settings, select the 'Next' button to view our Uni's schema and initial state.
Click to view sample Shopping List Initial State configuration
Use the following initial state data for our Uni.
{
  "ShoppingList": [
    {
      "item": "Bread",
      "quantity": "1 loaf",
      "recommendedLocation": "Best Bakery",
      "bought": false,
      "timestampAdded": "2020-12-05T18:43:54Z"
    },
    {
      "item": "Cheese",
      "quantity": "2 lb",
      "recommendedLocation": "Cheesy Charlies",
      "bought": false,
      "timestampAdded": "2020-12-05T14:23:32Z"
    }
  ]
}

Once we've defined our initial state, select the 'Create' button to deploy our Uni.
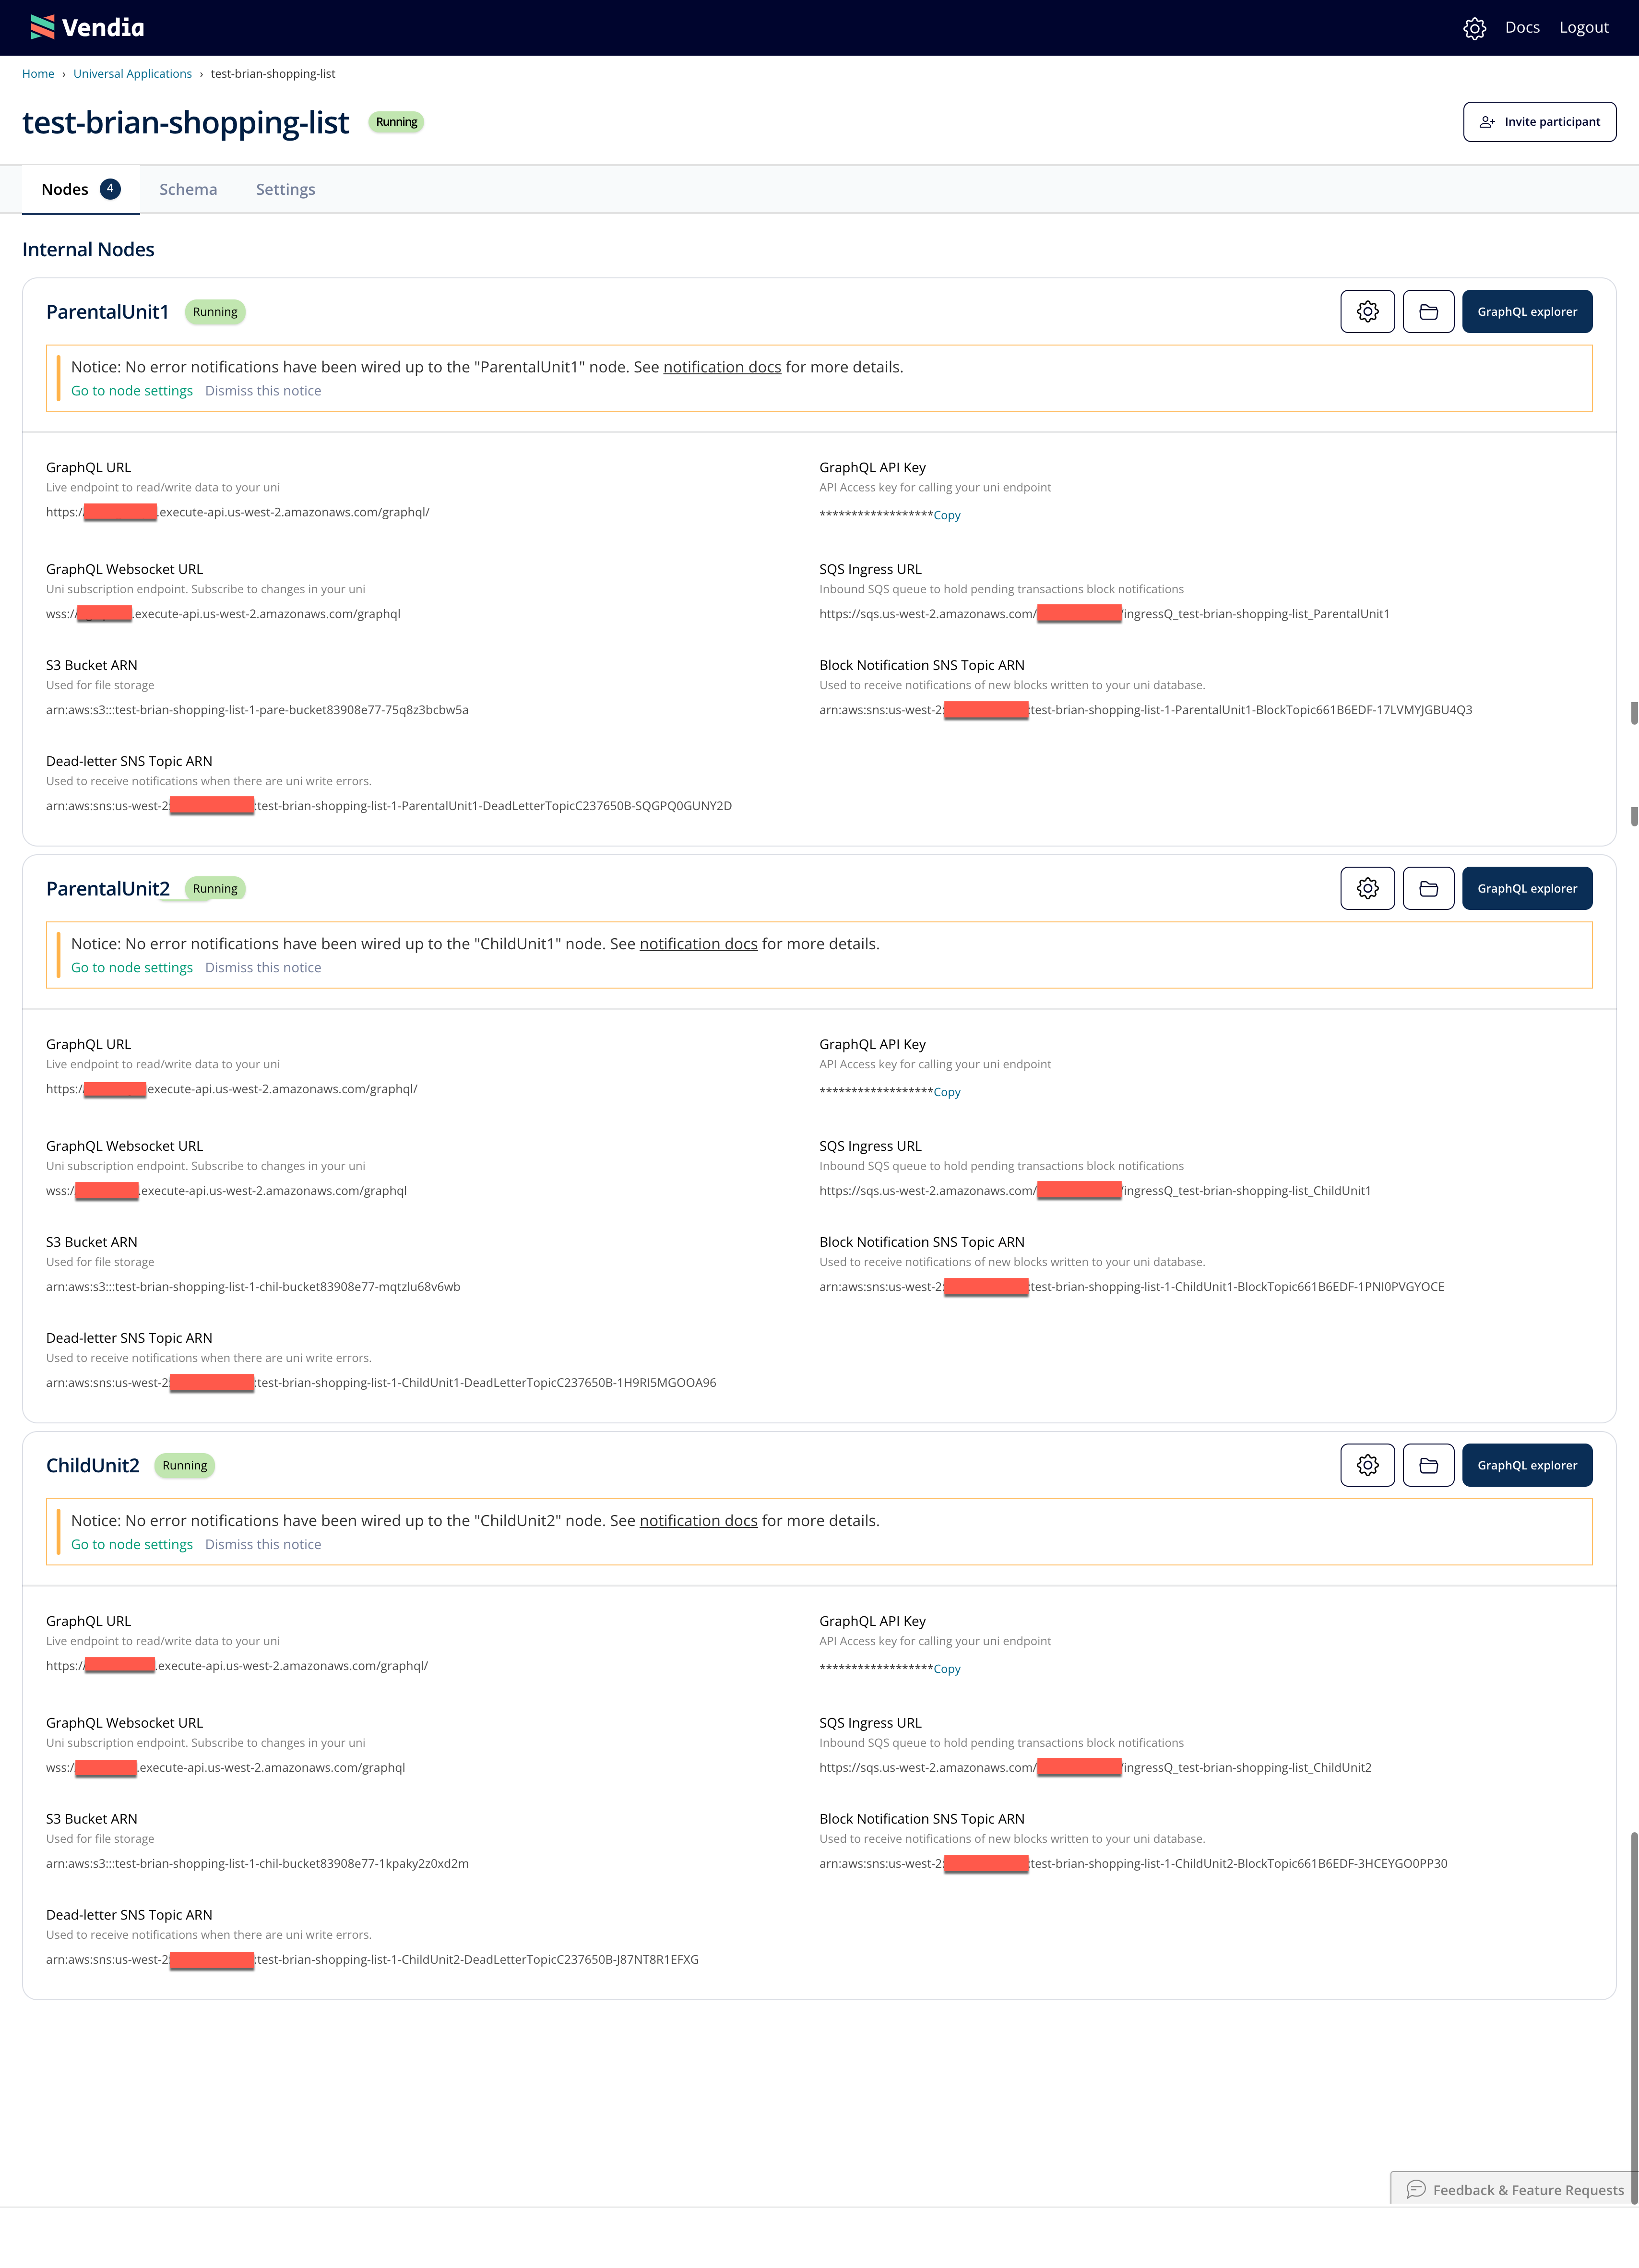
Once your Uni is defined and deployed, Vendia Share will take care of creating the necessary resources your Uni needs. The deployment will take approximately 5 minutes.
You may need to refresh the page to determine when your Uni is running. Once the Uni is running we can use our Uni.
